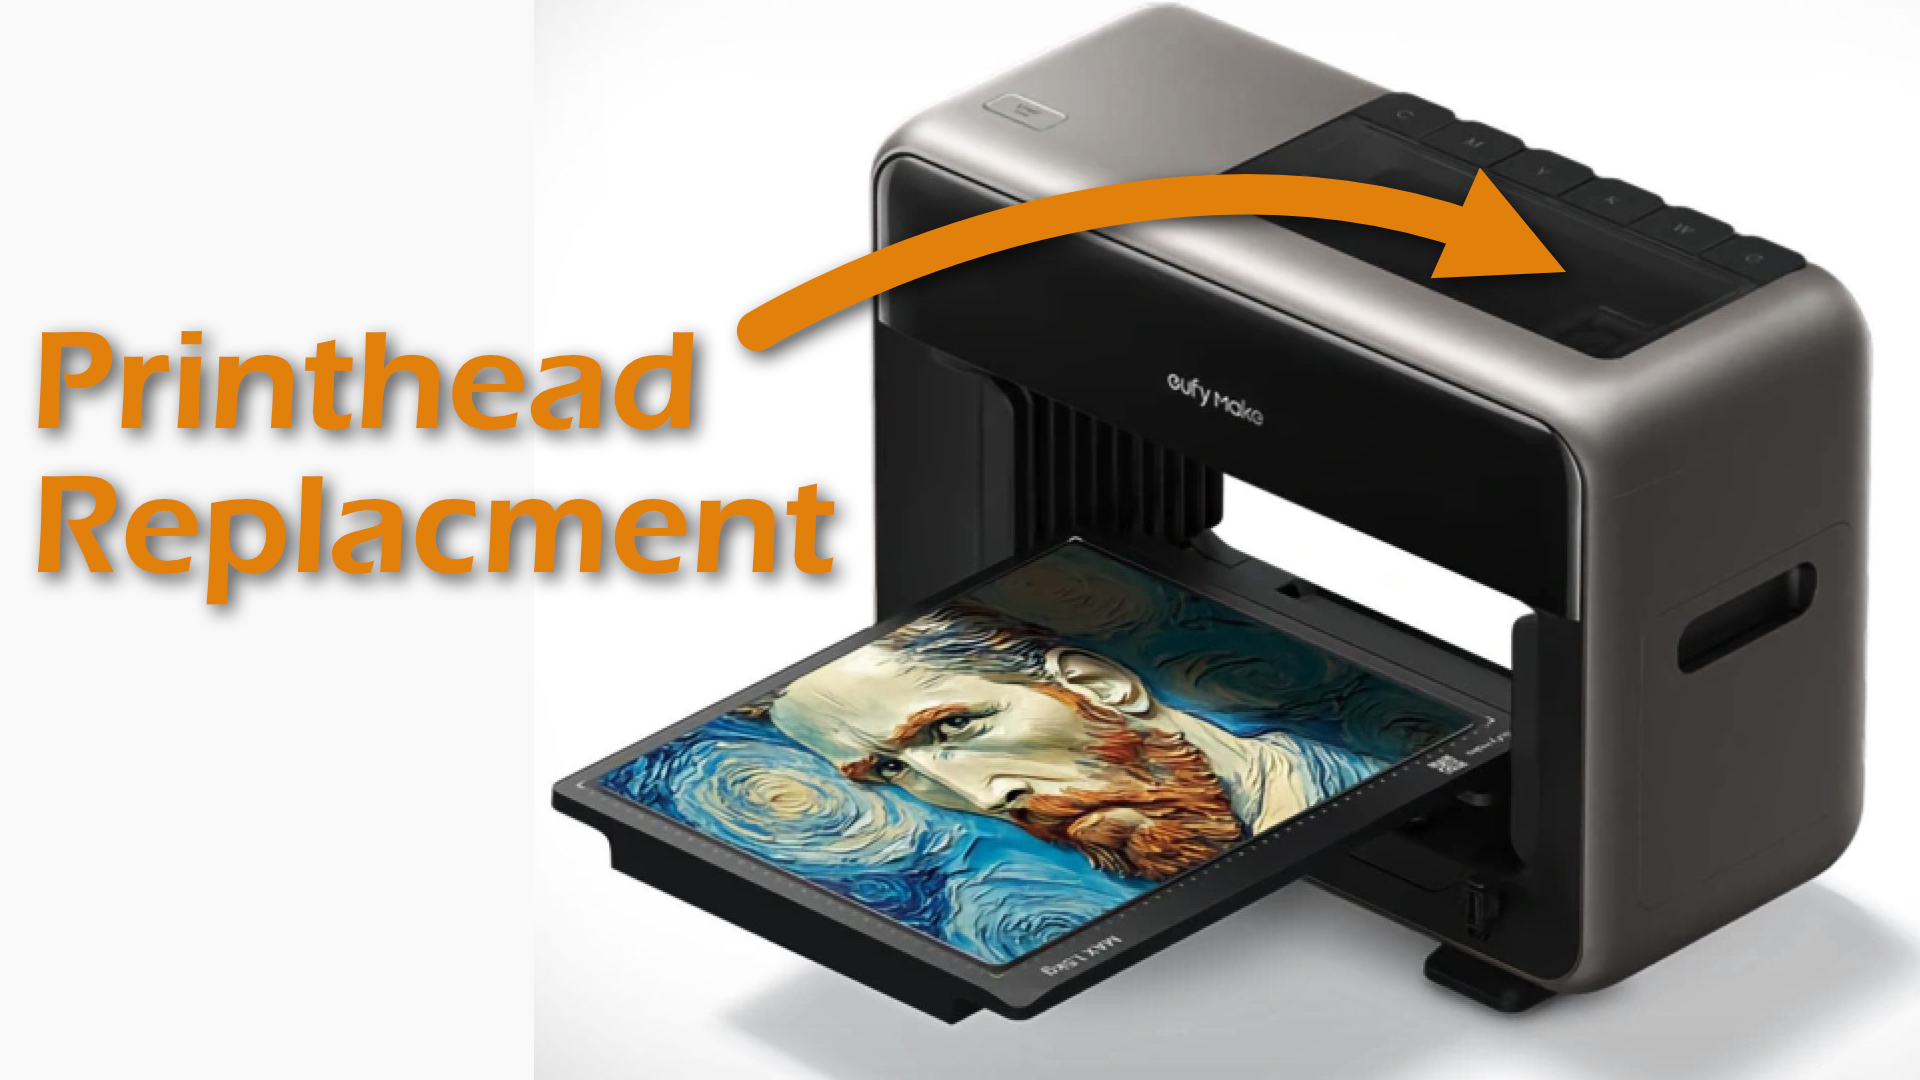
The eufyMake E1 is a great machine. But like all UV printers, the printhead is prone to clogging. You will eventually need to replace it and unfortunately eufyMake hasn’t yet provided instructions.
Luckily, the process is pretty quick and easy. eufyMake actually did a really good job on the design. The replacement process literally only requires the removal of two screws. Here’s how to do it:
Step 1: Move the Printhead
To get access, you’ll need to move the printhead to the left. It is normally locked to the right, but you can you use the interface in the eufyMake Studio to move it.

Move it like 20mm to the left, then unplug the printer. You will now be able to freely slide it left and right as necessary to get access.
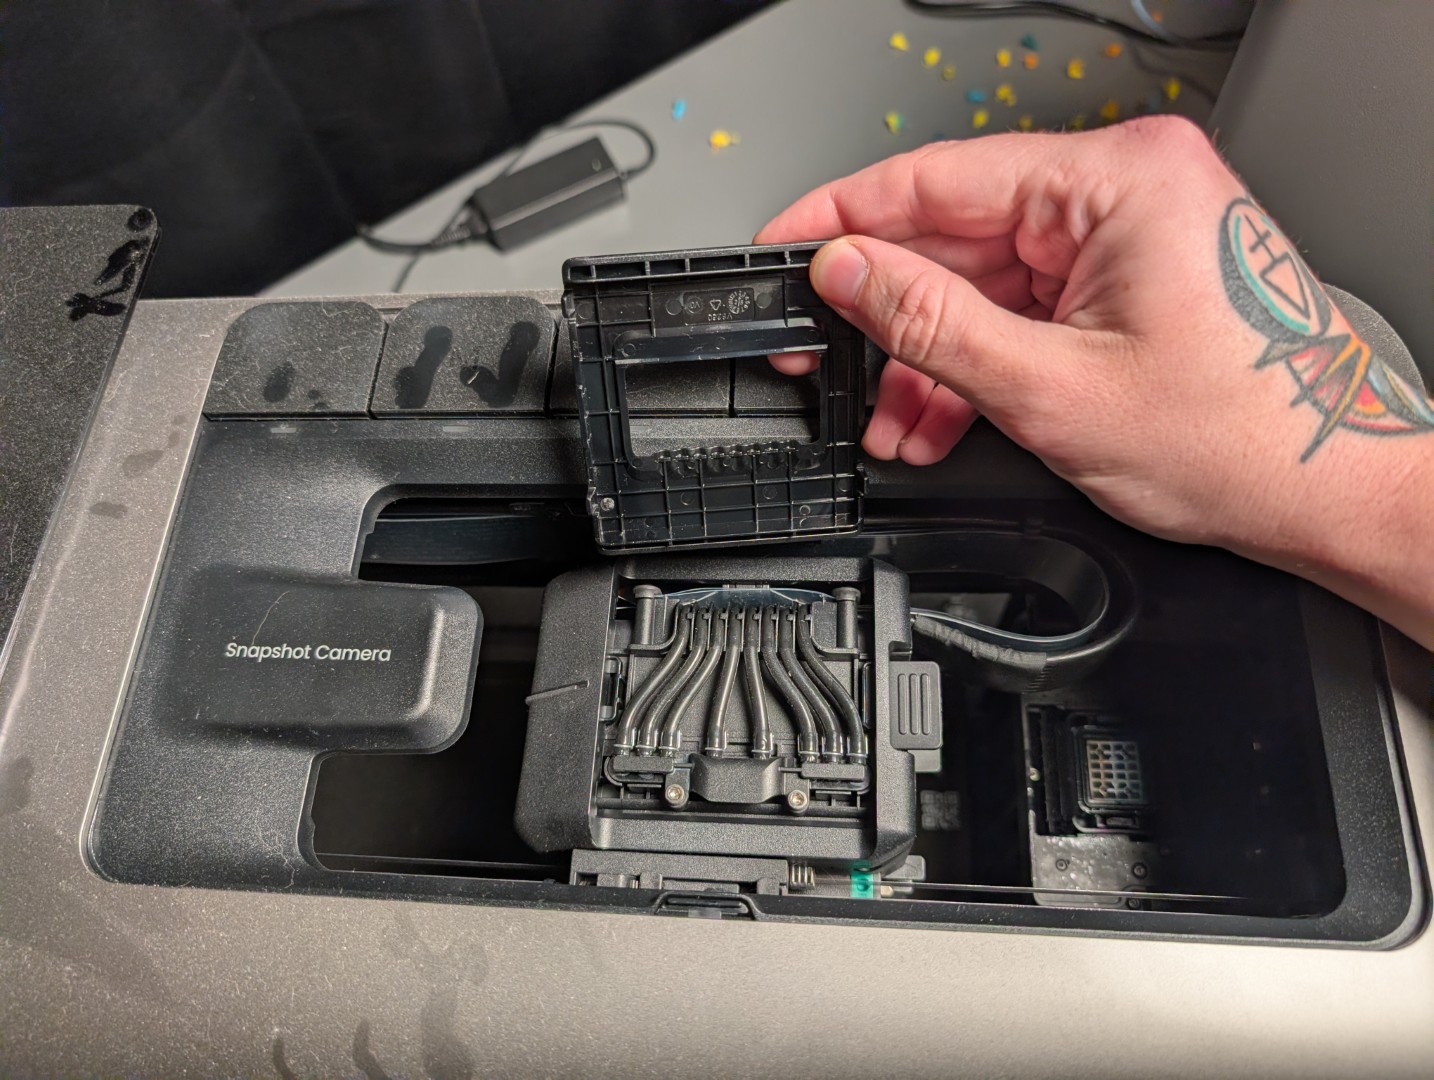
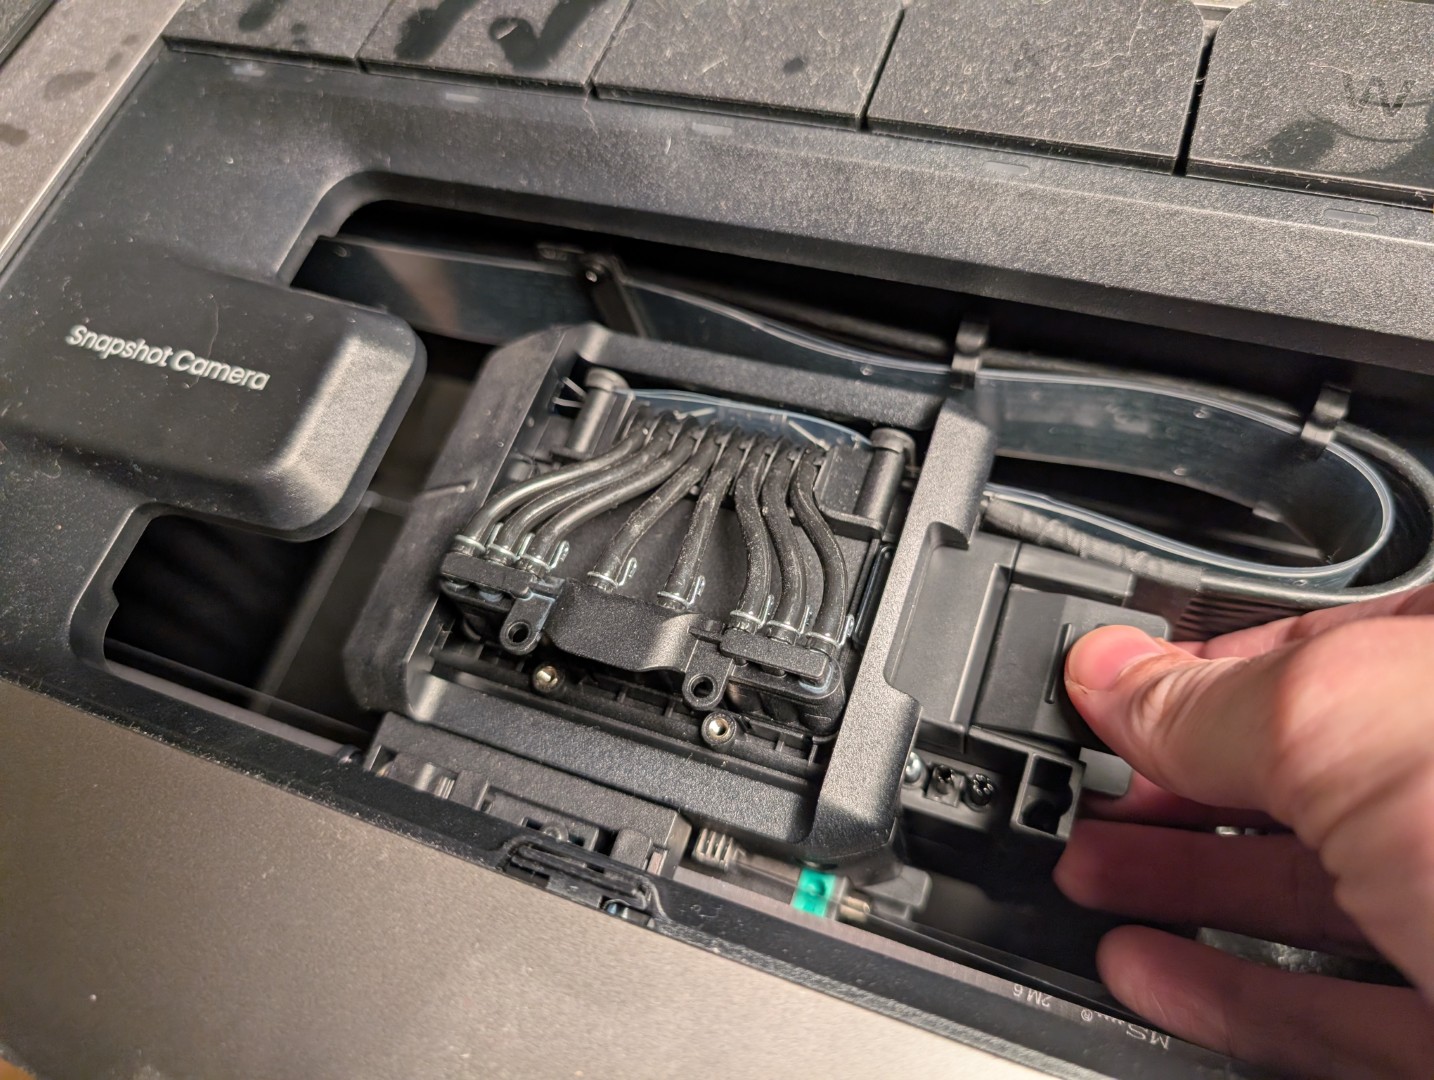
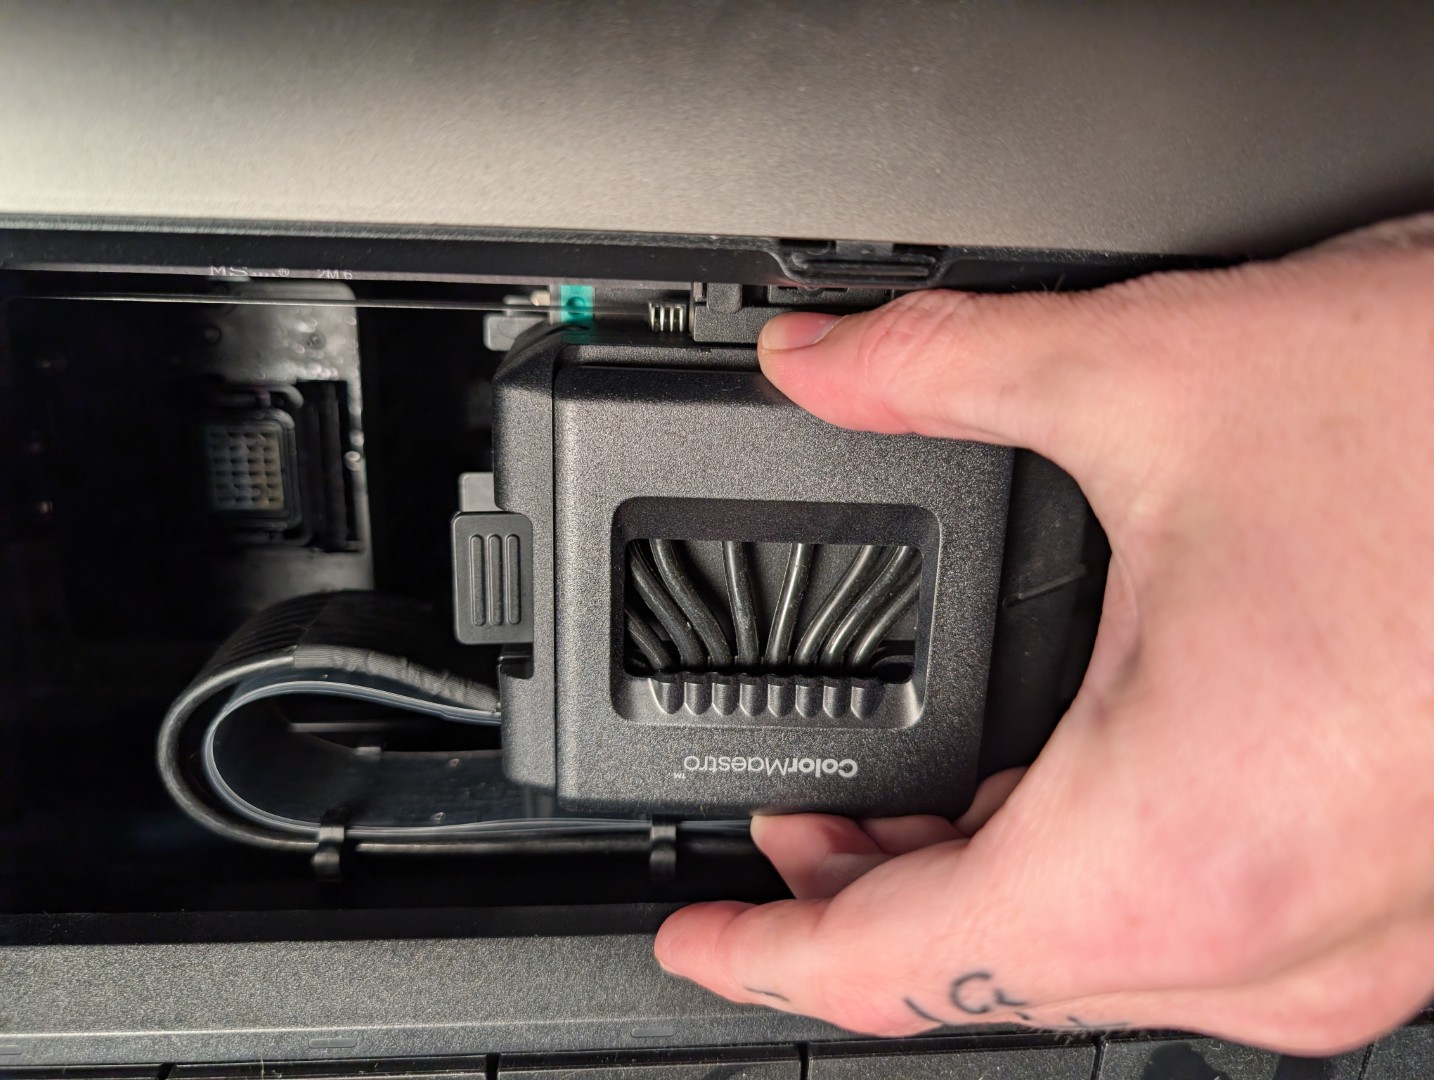
Step 2: Pop Off the Top Cover
If you haven’t already, remove the black cover (next to the ink cartridges). Then you should see the cover on top of the printhead that says “Color Maestro.”

Use a little force to pop off that “Color Mastro” cover. A screwdriver can help, just be careful not to gouge anything.
Step 3: Remove the Two Screws
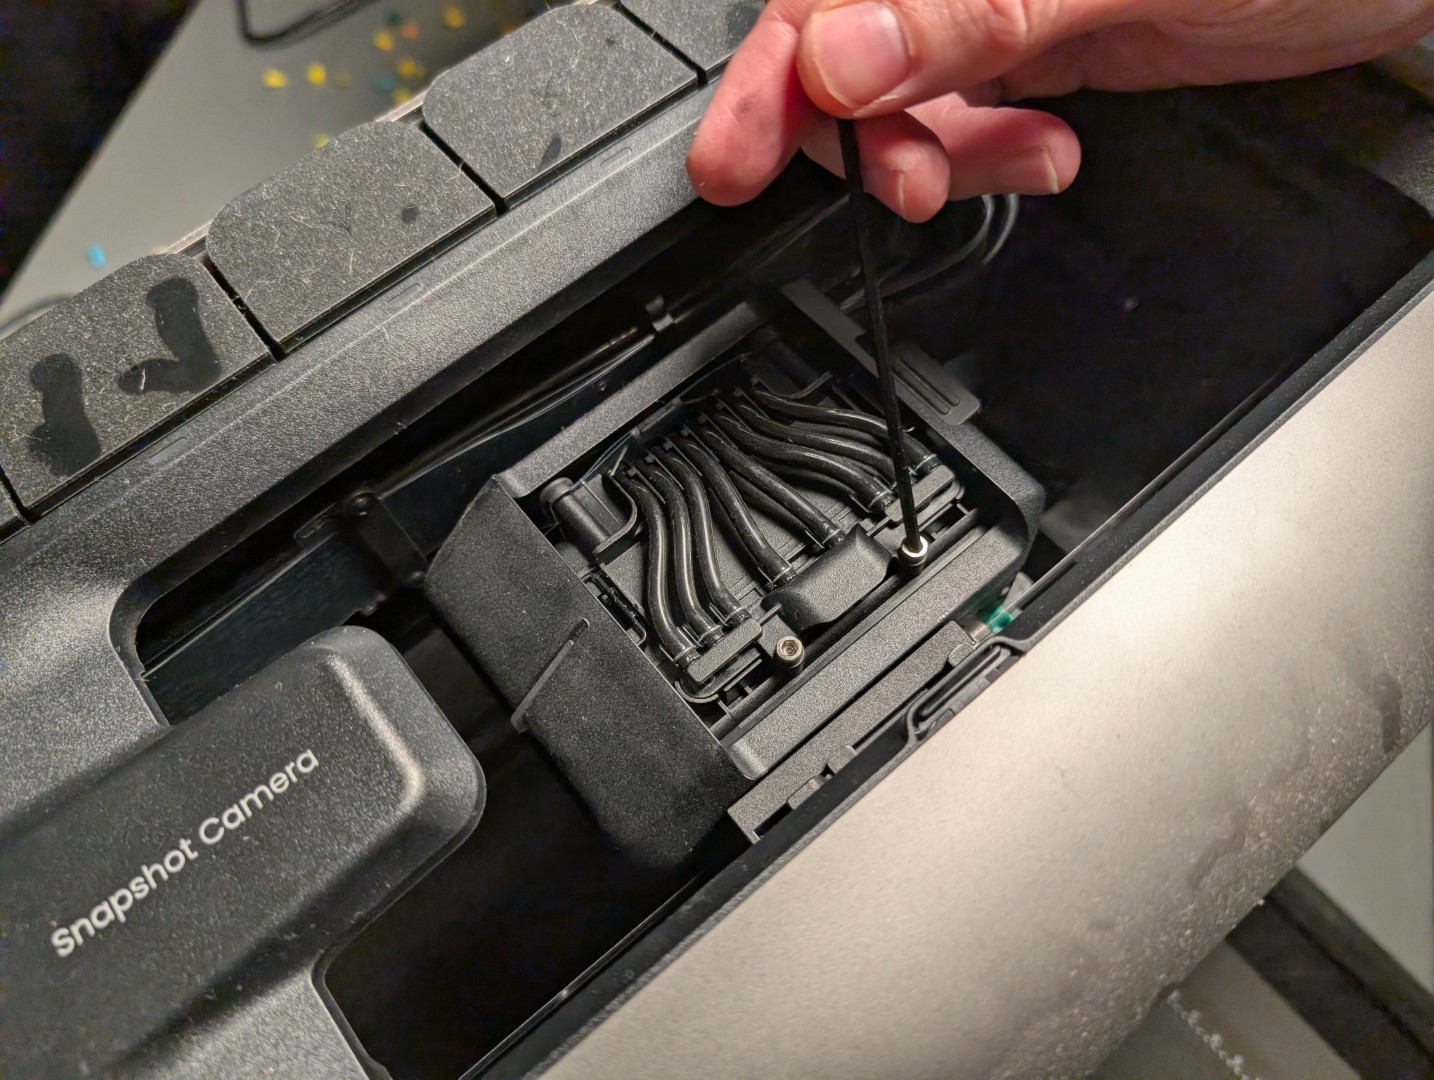
There are two screws holding the ink tube “rack” in place on the top of the printhead carriage. They’re silver and you can remove them using the allen key supplied with the new printhead.
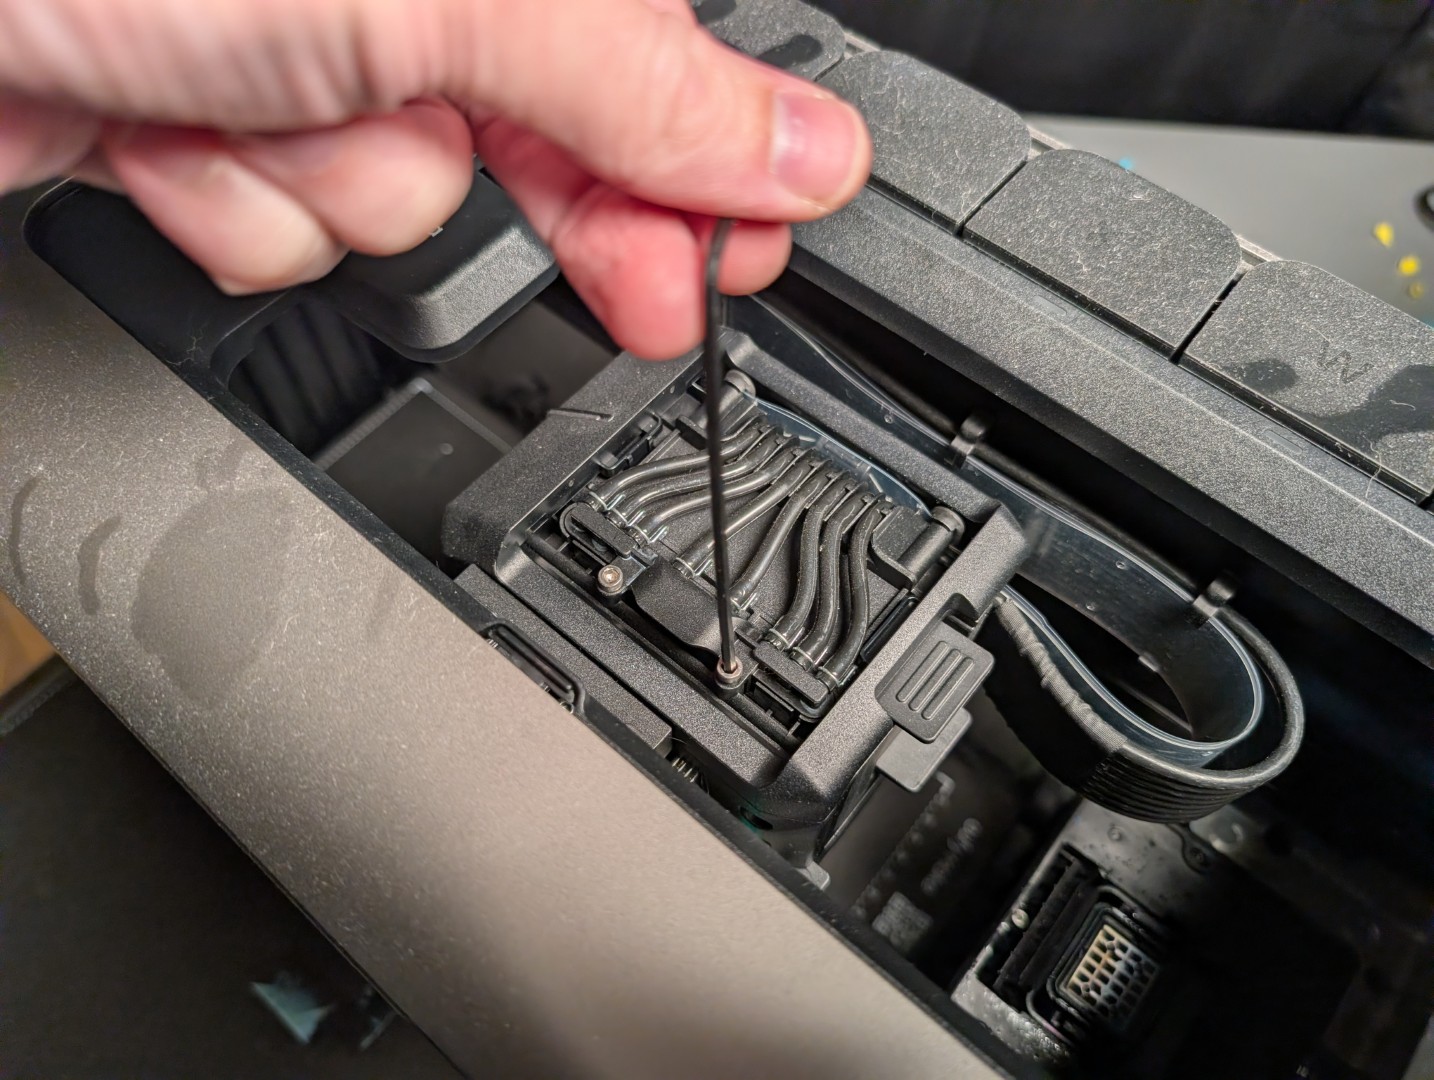
Note that those screw holes have threads at the bottom and the top. Completely remove the screws, unthreading them through those top holes, too.
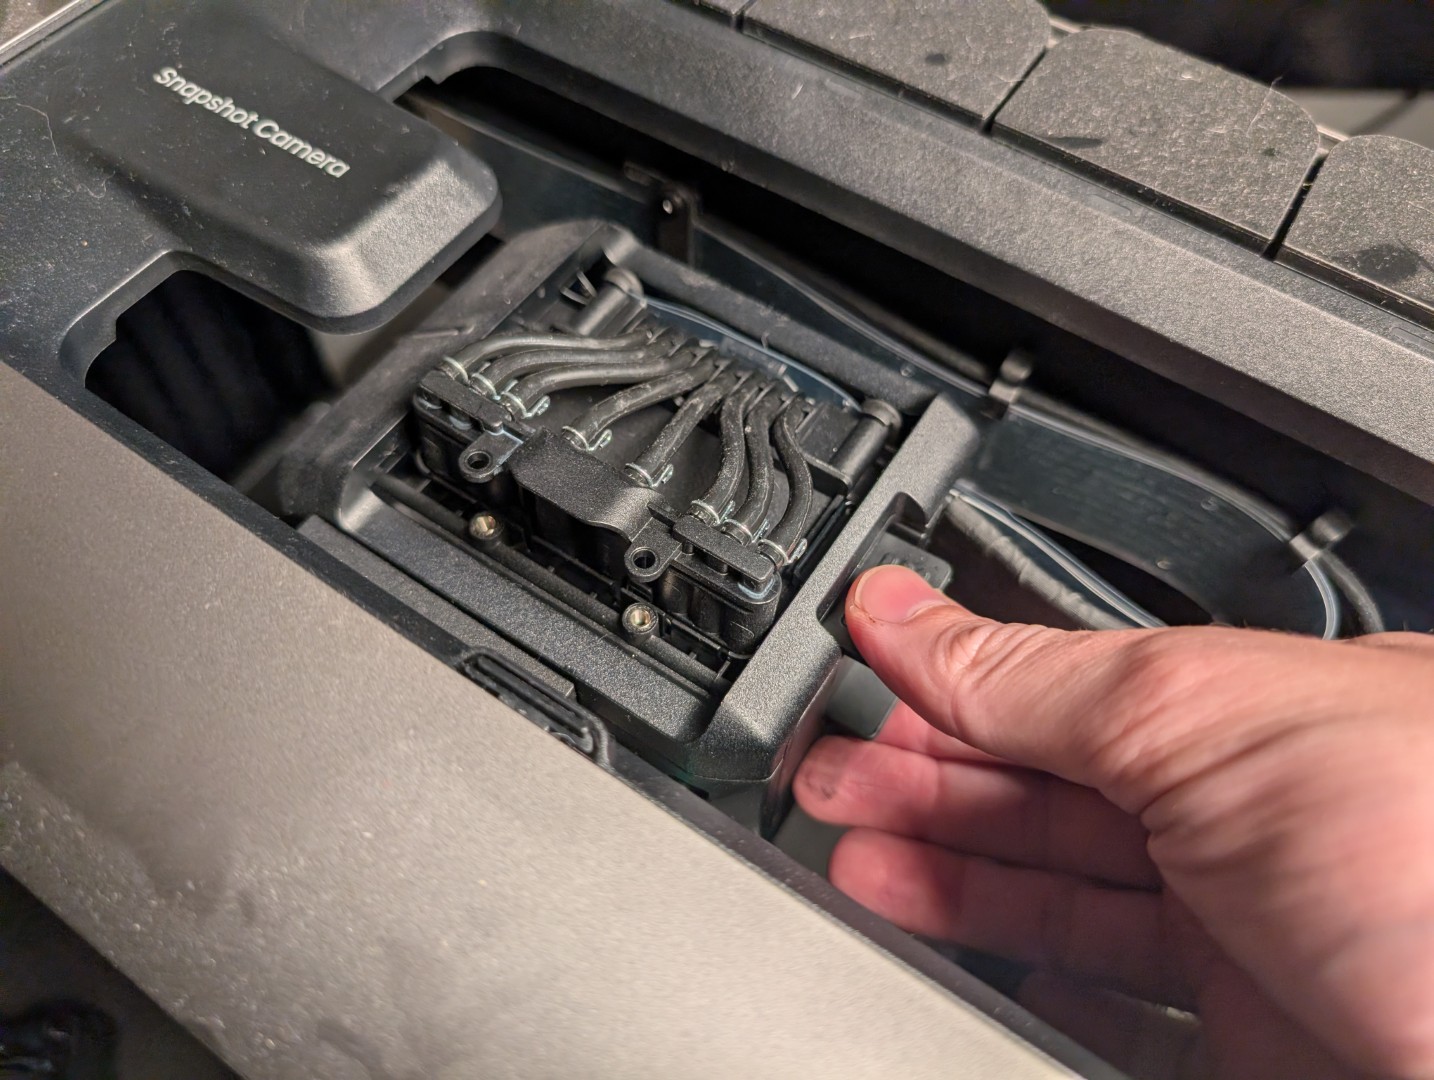
Step 4: Lift the Ink Tube “Rack”
There is a kind of “rack” piece where all of the ink tubes go into the printhead, kind of like a manifold. You don’t need to remove the individual tubes, because the entire “rack” lifts up and pulls them all out together.
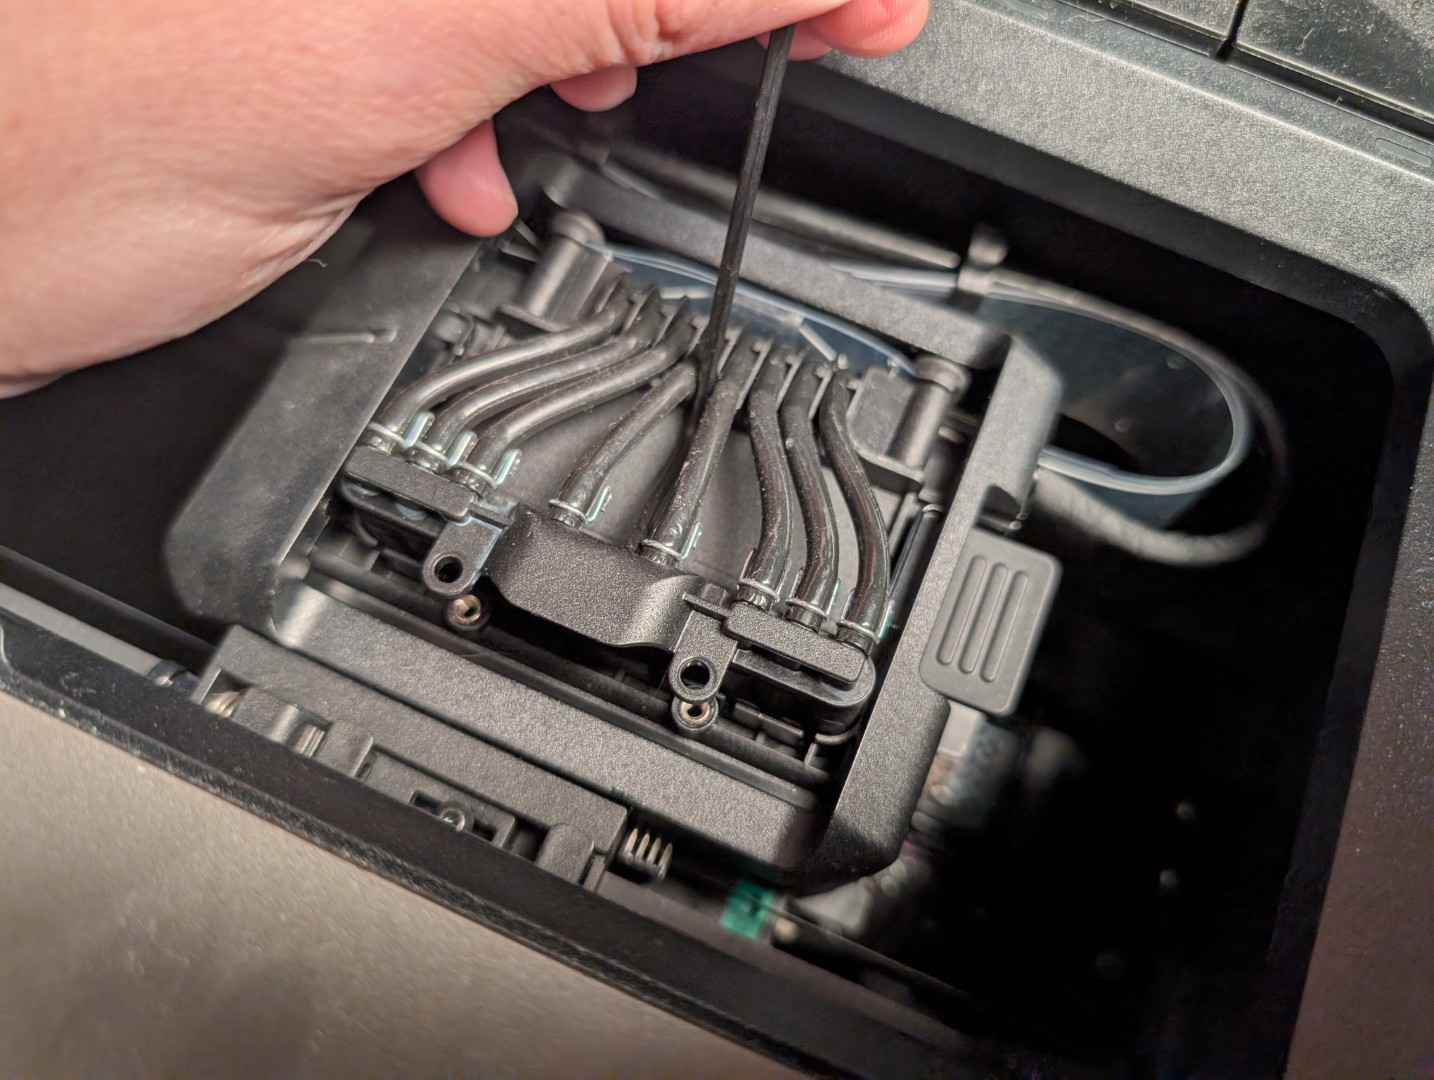
The rack lifts straight up, but it does require some force. You can use tools like a screwdriver to get some leverage. But again, be careful not to gouge or break anything.
The rack won’t come off completely, but will stop when it is in its highest position. Leave it there.
Step 5: Pull Out the Old Printhead
Now the old printhead is ready to come out. Grab the tabs on the right side, squeezing them a little bit. Then, simply pull the entire printhead to the right and it should slide out of the carriage.
It is a tight fit and there is some friction, so it needs a bit of muscle. But it should come out.
Step 6: Prepare the New Printhead
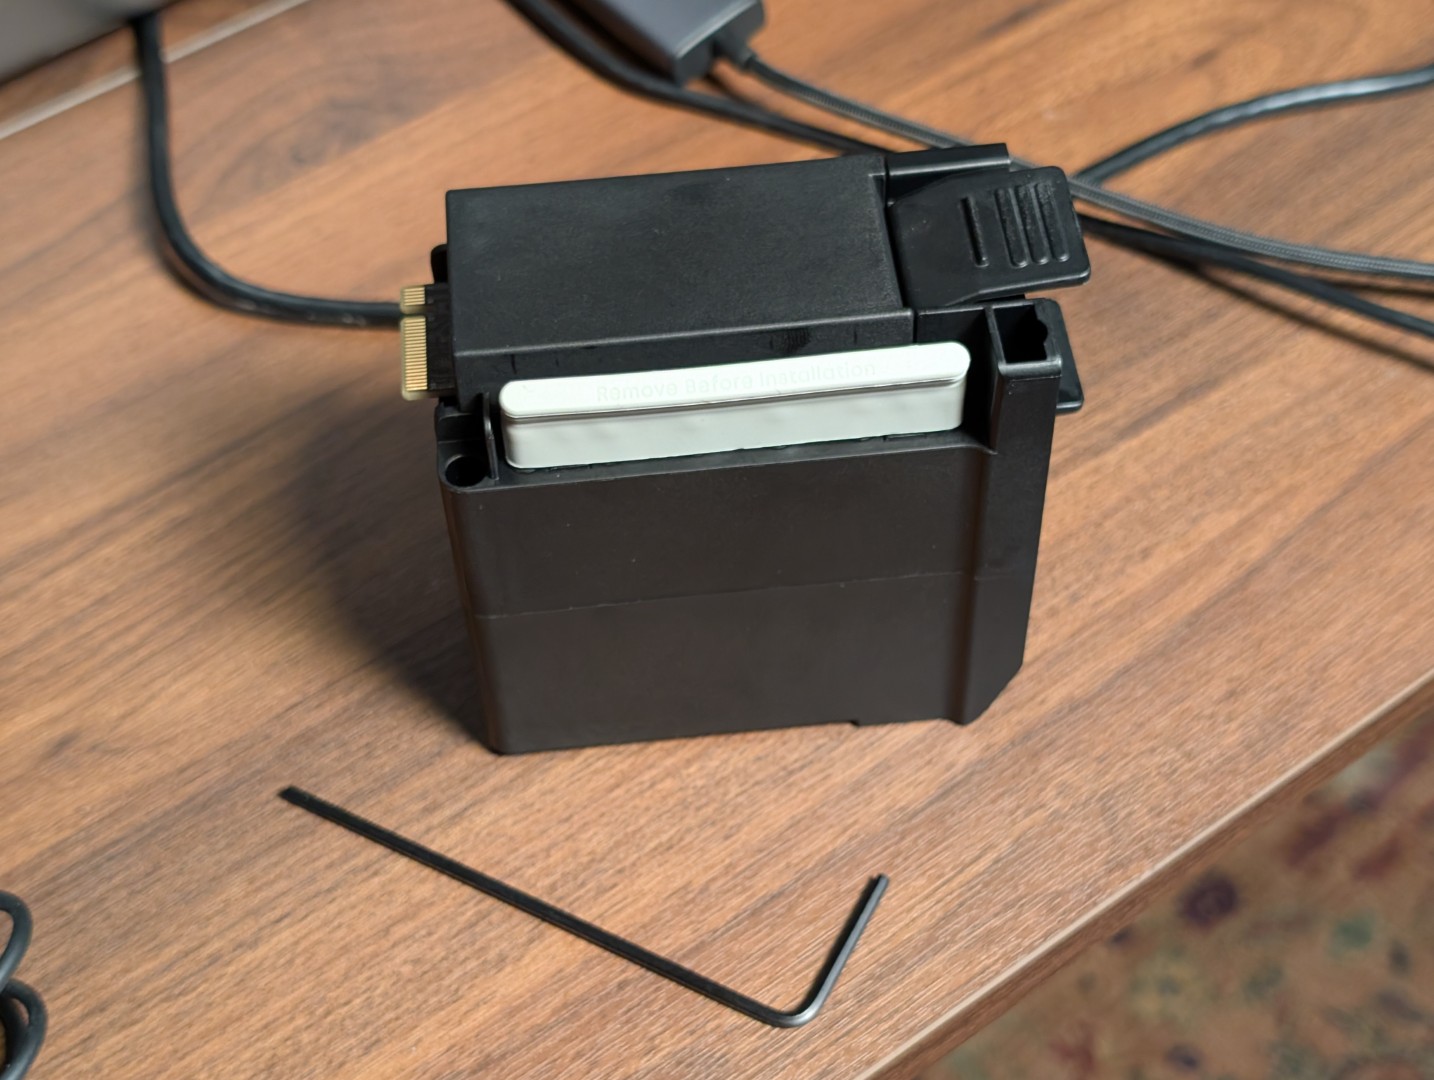
Not much to do here, but make sure you remove the gray cover that sits on the ink tube inlets.

Also, remove the clear film that covers the printhead nozzles on the bottom.
Step 7: Installation
The install is just the reverse of the steps above. Easy!
Slide the new printhead in, push the ink tube “rack” back down into place, screw the screws back in, and snap on the “Color Maestro” cover.
Step 8: Prepare and Print
Because eufyMake hasn’t provided official instructions yet, I don’t know the “proper” process. But to play it safe, I simply ran a deep clean cycle after turning the machine back on.
I also replaced my cleaning cartridge before powering the machine on, but that was just because mine was full.
If necessary, you’ll want to replace any empty or old ink cartridges, too. Mine were full, but had been sitting for months while I was waiting on the replacement printhead. Some of them seemed to be clogged up and so I swapped those out.
From there, I just ran a decent size print with a variety of colors. I did that “color raised” at 0.5mm to make sure there was plenty of ink flow.
And done!
My printer was completely clogged before, but now it is working great again. Hope this was helpful to you. If it was, you might enjoy my YouTube channel: https://www.youtube.com/@serialhobbyism_official
Leave a Reply