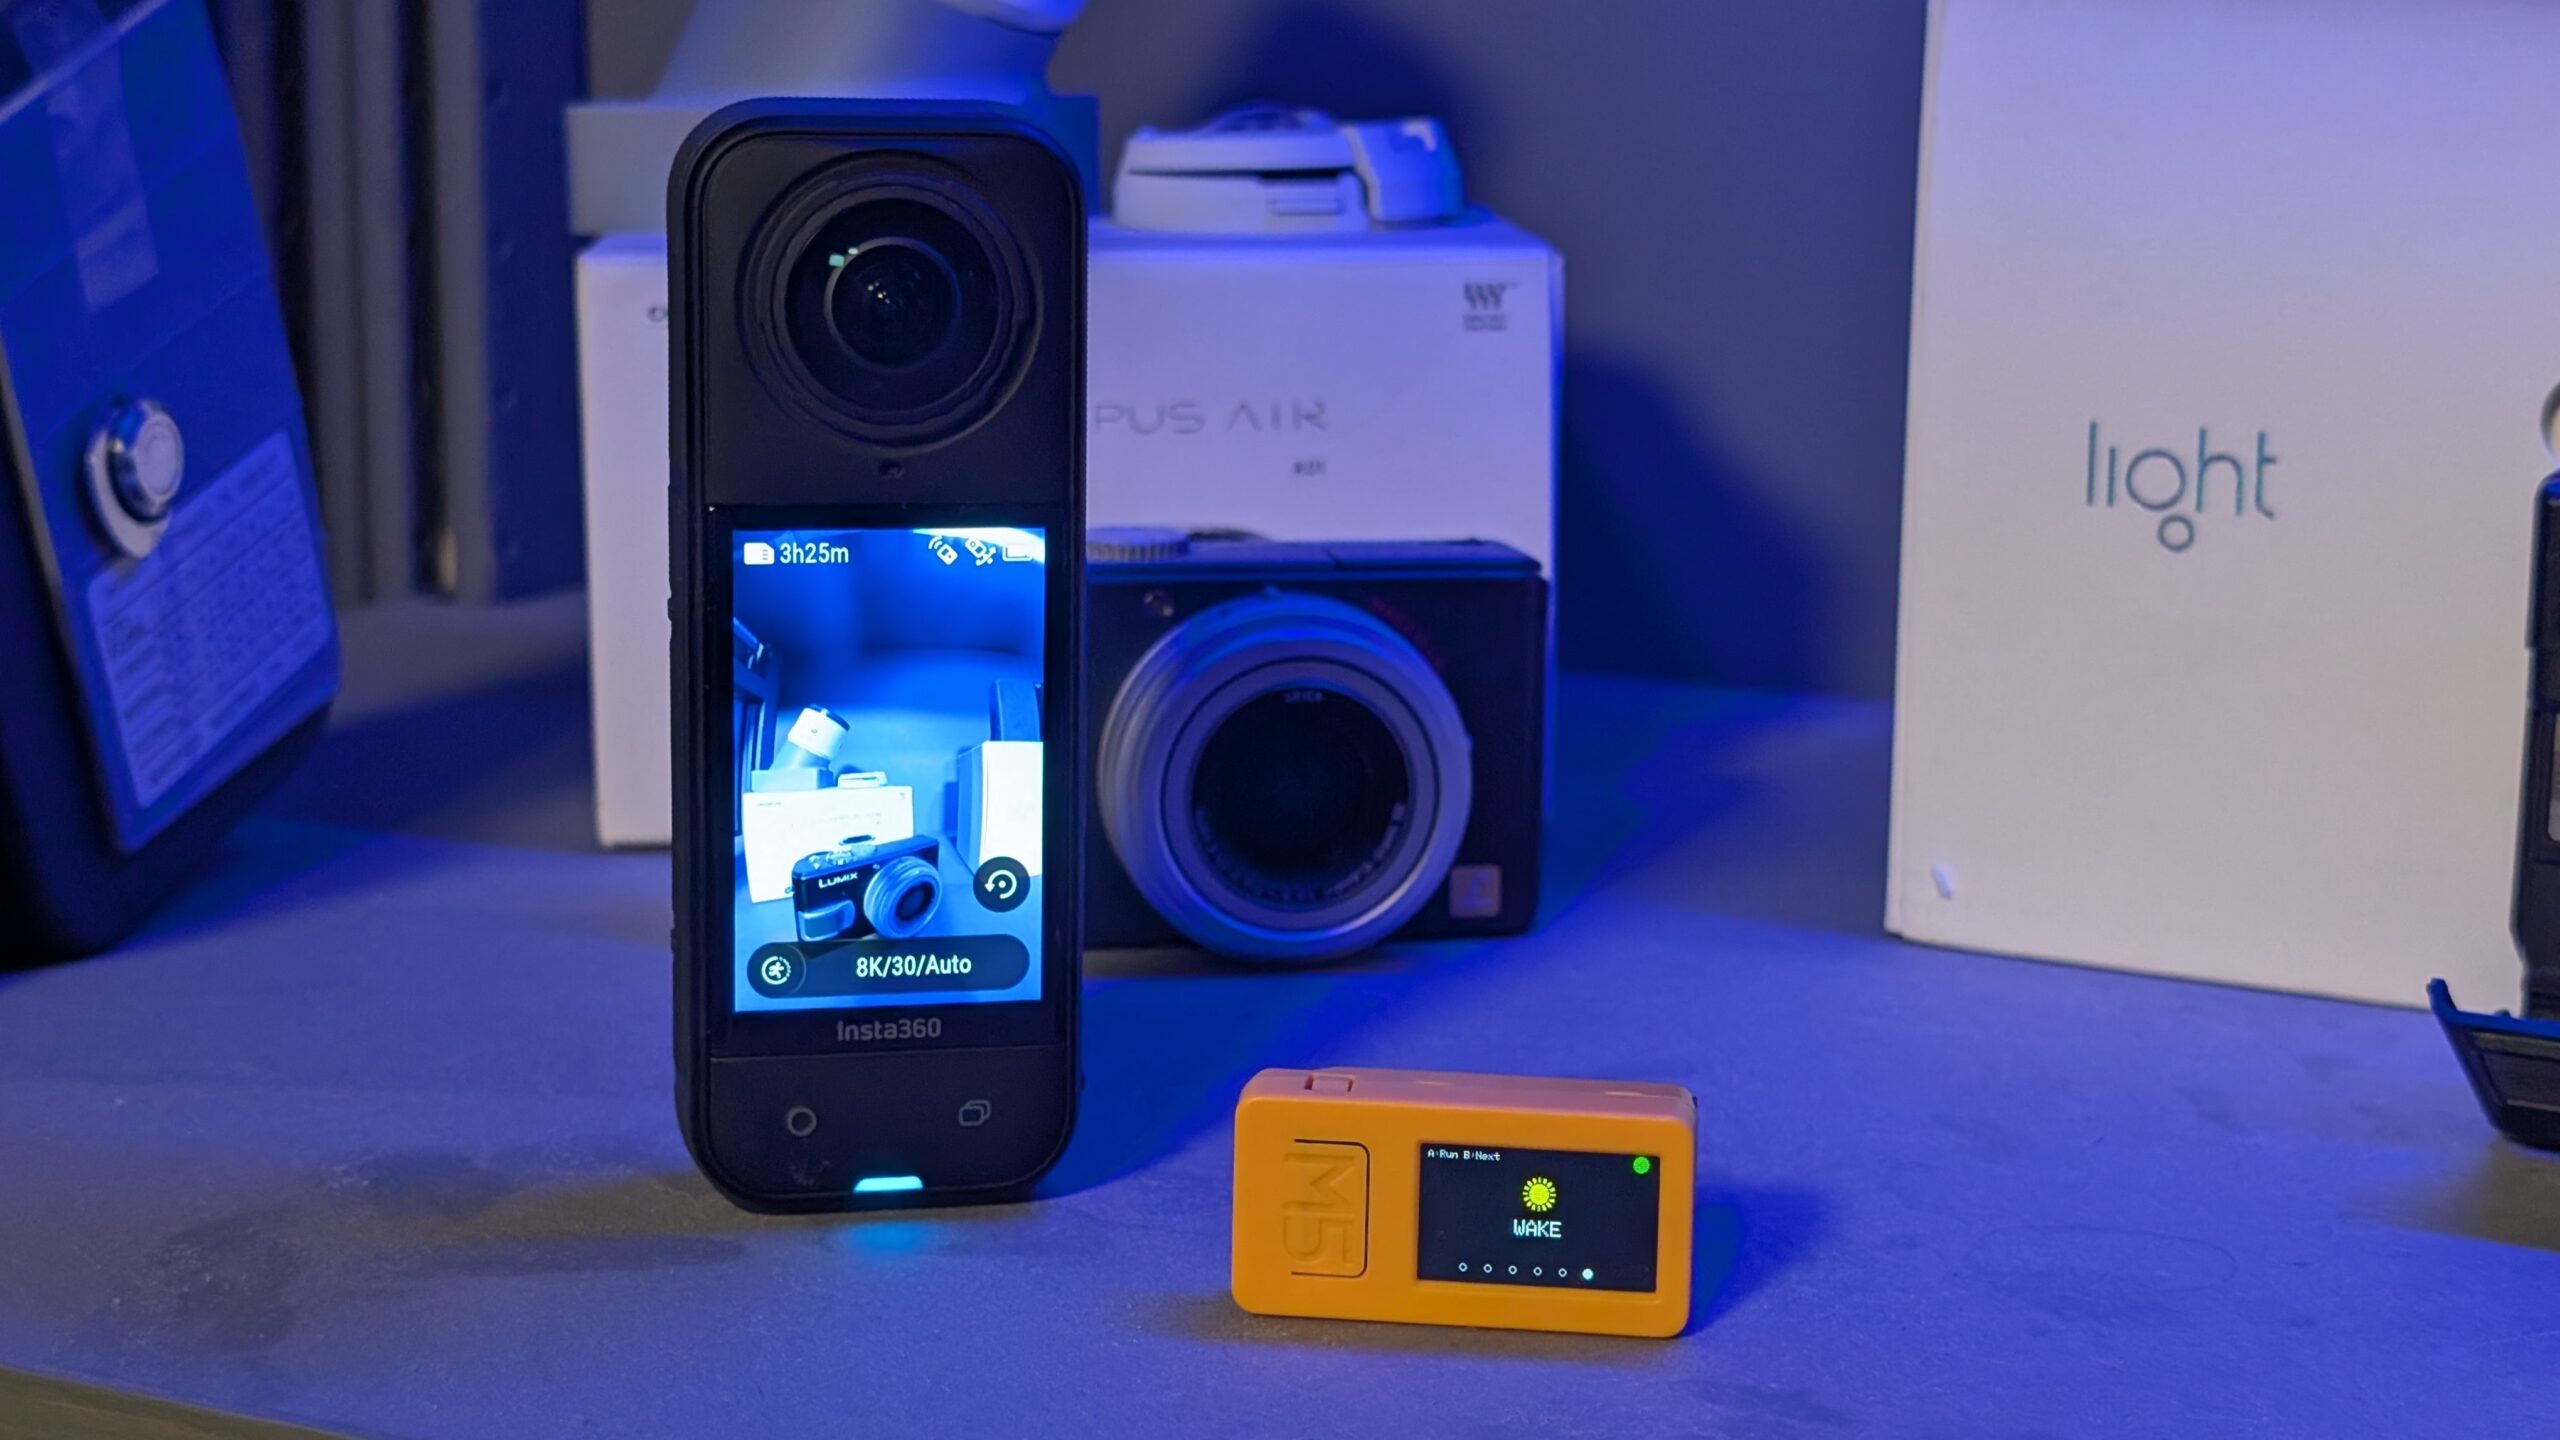
I created this open-source remote, based on M5StickC devices, for Insta360 cameras. It lets you switch modes, start/stop recording, capture photos, put the camera to sleep, and wake the camera up. Also accepts external GPIO control:
Pull G0 to GND to trigger the shutter/recording. Pull G26 to HIGH to put the camera into SLEEP mode. Pull G36 to HIGH to wake the camera.
This is part of a much larger project for me, but I noticed that there really wasn’t anything like this available, so I wanted to share it with the community.
Use the Arduino IDE to flash the code:
Find all of the code here on GitHub!
I recommend using an M5Stack M5StickC Plus2 (Amazon affiliate link)
Also tested with an original M5StickC and it should work with the M5StickC Plus, as well.
I have tested this with the Insta360 X5, but I think it should also work with the X3, X4, and RS.
A big thank you to Patrick Chwalek! His Medium post and GitHub repository were very helpful for getting me started down the right path for this project.
The code is pretty well-commented, but feel free to ask me any questions if you want to know how things work. I’m pretty responsive!
I’ll try to update this with a FAQ and more technical details as I get the time.
Instructions
To make one of these yourself, you’ll want to get an M5StickC Plus2 (or an original M5StickC) from M5Stack. Then you’ll flash the code to it using the Arduino IDE.
Step 1: Install the Arduino IDE
If you don’t already have it, then you’ll need to download and install the Arduino IDE.
Step 2: Add the M5Stack Boards
The M5StickC Plus 2 isn’t a default Arduino board, so we need to add it to the board manager. Follow M5Stack’s instructions here to do that.
The basic process is to add this link:
https://static-cdn.m5stack.com/resource/arduino/package_m5stack_index.json to the “Additional Boards Manager URLs” field in the preferences menu of your Arduino IDE.
Then you can open the Arduino IDE board manager, search for “M5Stack” and click Install.
Step 3: Install the M5Unified library
For the code to work, the Arduino IDE needs to understand the hardware we’re using and how to interact with it. For that, you need M5Stack’s M5Unified library.
To install it, open the Arduino IDE’s Library Manager, search for “M5Unified” and click Install.
Step 4: Download my code
Now your environment is ready, so you can download my code. Go to my GitHub repository and click the green Code button, and click Download ZIP from the menu that pops up.
It is important that you download the entire ZIP, because there are several files that are necessary in addition to the main “.ino” Arduino file.
Step 5: Extract and open
Extract the downloaded ZIP folder and move it to wherever you want to store it on your computer. Then open the folder and double-click the main file:
insta360_m5StickC_remote-main.inoThat file, along with all of the other included files, should open up in the Arduino IDE.
Step 6: Set the unique REMOTE_IDENTIFIER
There is only one thing in the code that you should need to change and that is “REMOTE_IDENTIFIER” near the top of the main file. It should be line 29:
const char REMOTE_IDENTIFIER[4] = "A01"; // Maximum 3 characters + null terminatorThat is there to give your remote a unique ID to prevent interference if you’re using multiple remotes/cameras.
It isn’t strictly necessary if you’re only using one remote/camera, but I suggest changing it anyone.
You can pick any sequence of three alphanumeric characters that you want. Just replace the A01 in that line with whatever you choose.
Step 7: Select your board and port
To flash the code to your M5StickC device, the Arduino IDE needs to know what to target.
In the “Tools” menu at the top, go to Board > M5Stack and then click on the device you’re actually using (either M5StickC, M5StickCPlus, or M5StickCPlus2).
Now you need to select the COM port you’re using from Tools > Port.
That tends to be a little confusing to people who aren’t familiar with Arduino, so Google it if you don’t understand. But all you’re doing is selecting the USB COM port for your M5StickC. If you don’t know which one it is, try plugging in and unplugging the USB cable to see which COM port pops up and goes away.
Make sure you have the USB cable plugged in and select its COM port.
Step 8: Flash the code
Now you’re ready! Click the right-facing arrow icon at the top-left of the Arduino screen, which is Upload.
The Arduino IDE will compile the code and flash it to your M5StickC.
That will take a few minutes, so be patient!
Step 9: Use the remote!
Make sure your Insta360 is turned on and Bluetooth is enabled. Then turn on your M5StickC (long press the power button).
Use the M5StickC’s B button to cycle through the menu and the A button to select.
Select “CONNECT” and the remote should pair with the Insta360 (confirm on the Insta360).
That’s it, you’re done! It should automatically reconnect in the future and you can now use the remote’s functions!
Leave a Reply to Mark Shon Cancel reply